Easy Brownie Deviled Eggs

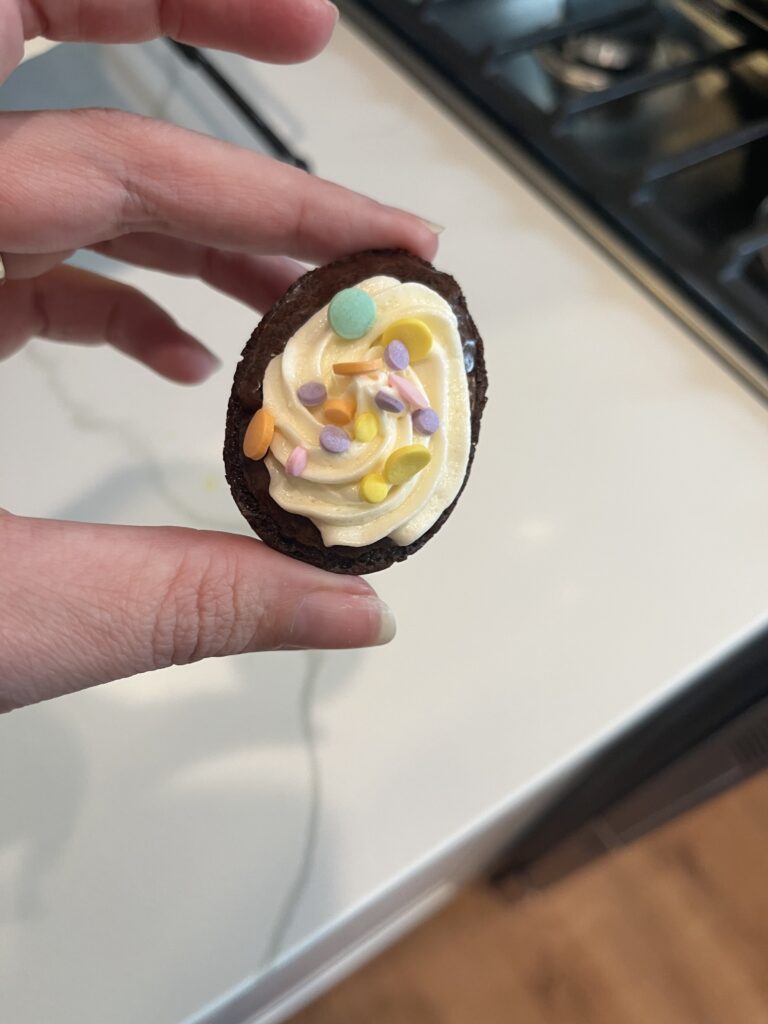
If you want a fun Easter dessert that looks impressive but is actually super simple, these brownie “deviled eggs” are it.

I made these for my husband to take to work on Easter, and they ended up being such a fun little treat to share.

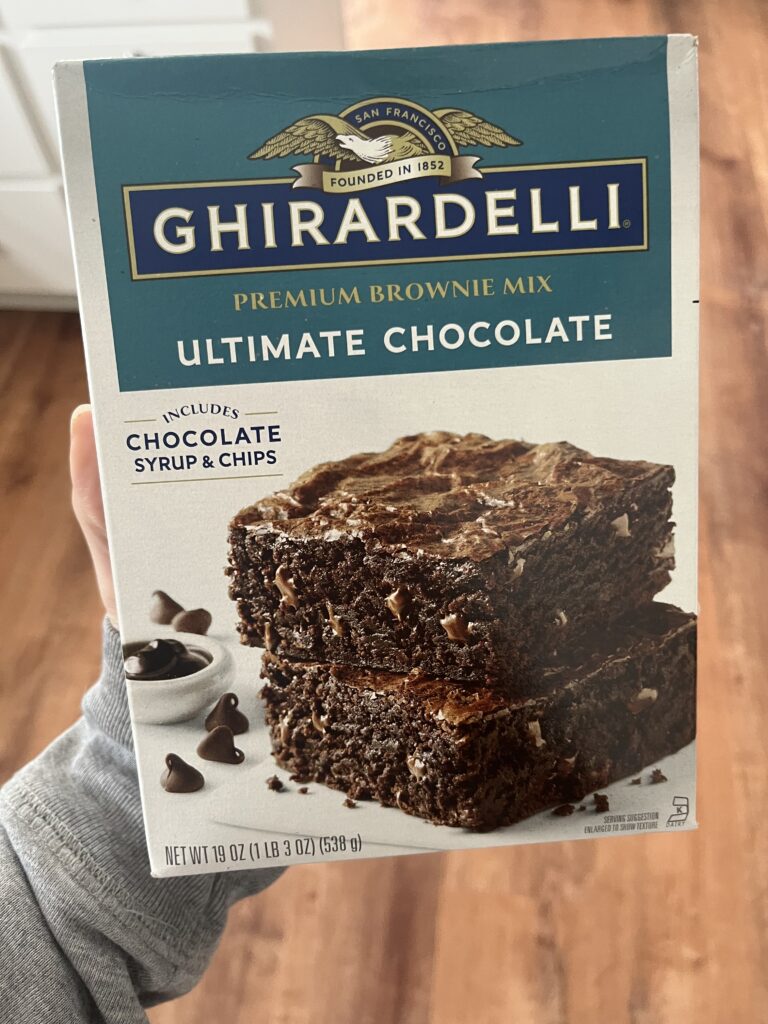
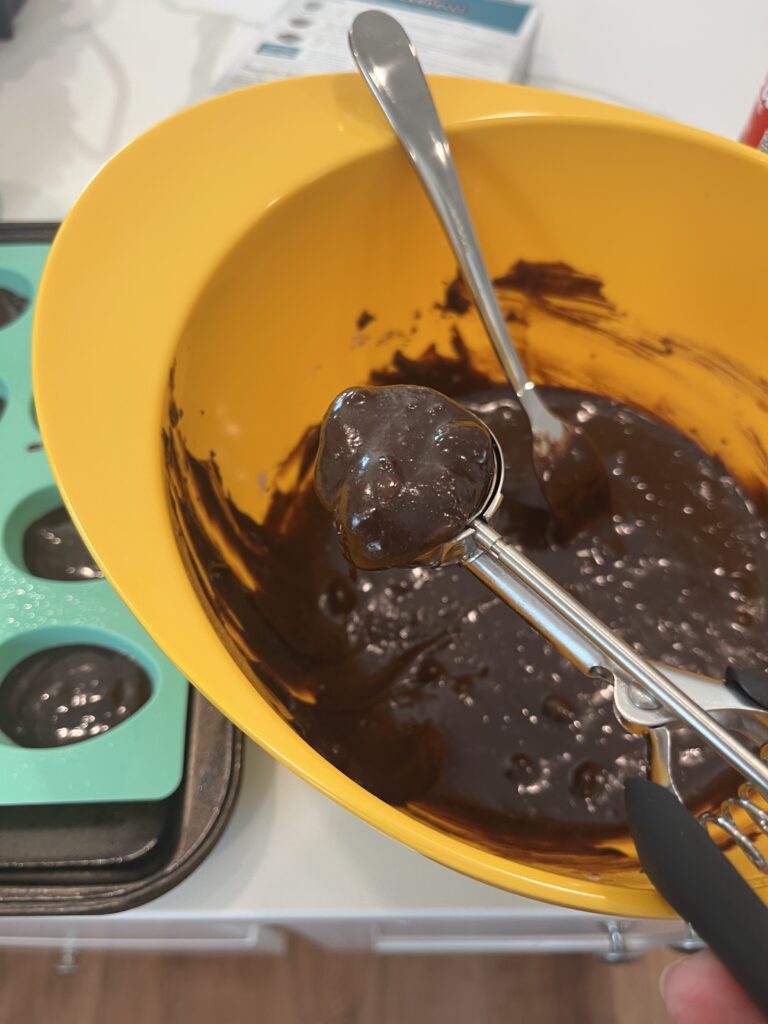
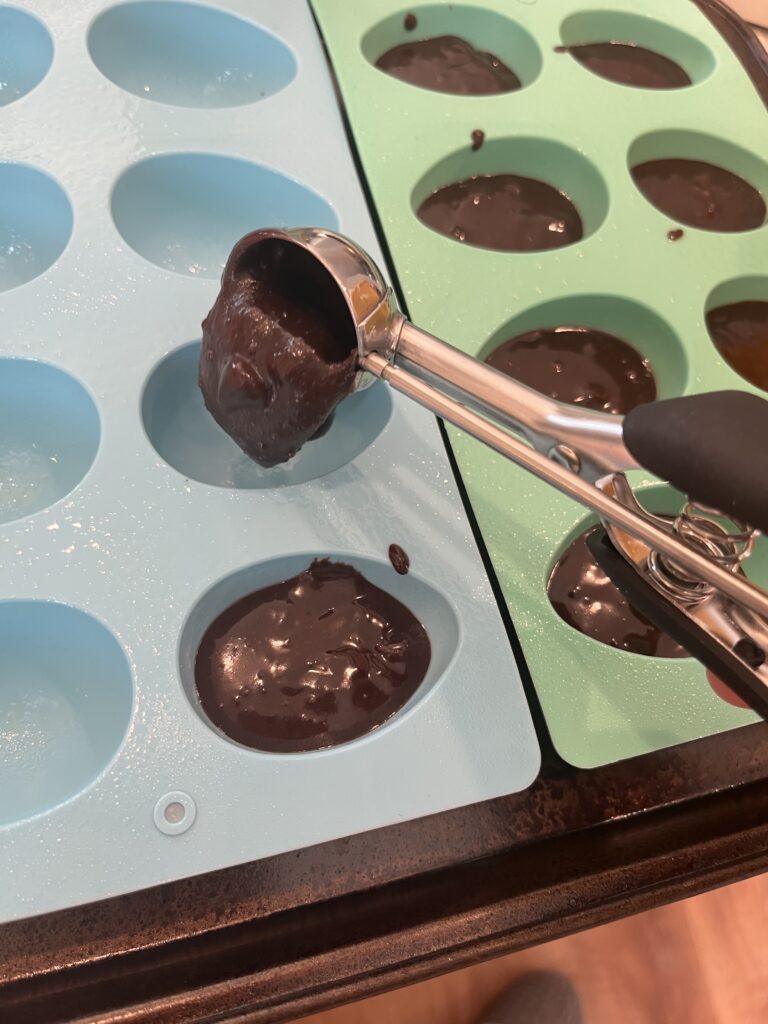
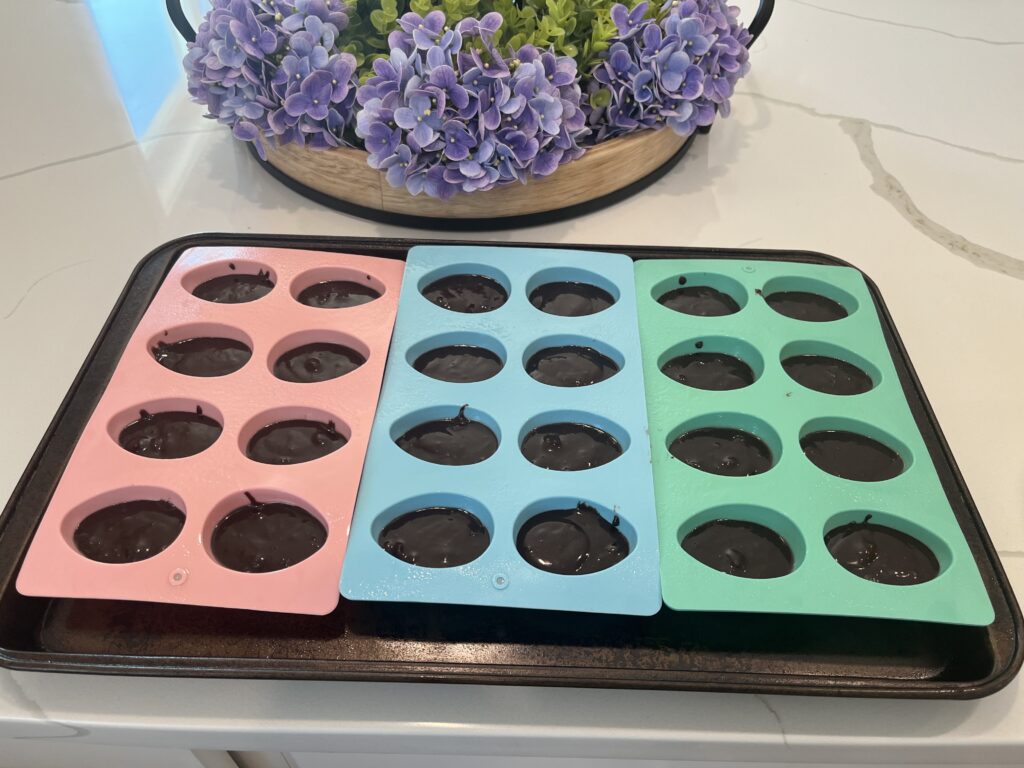
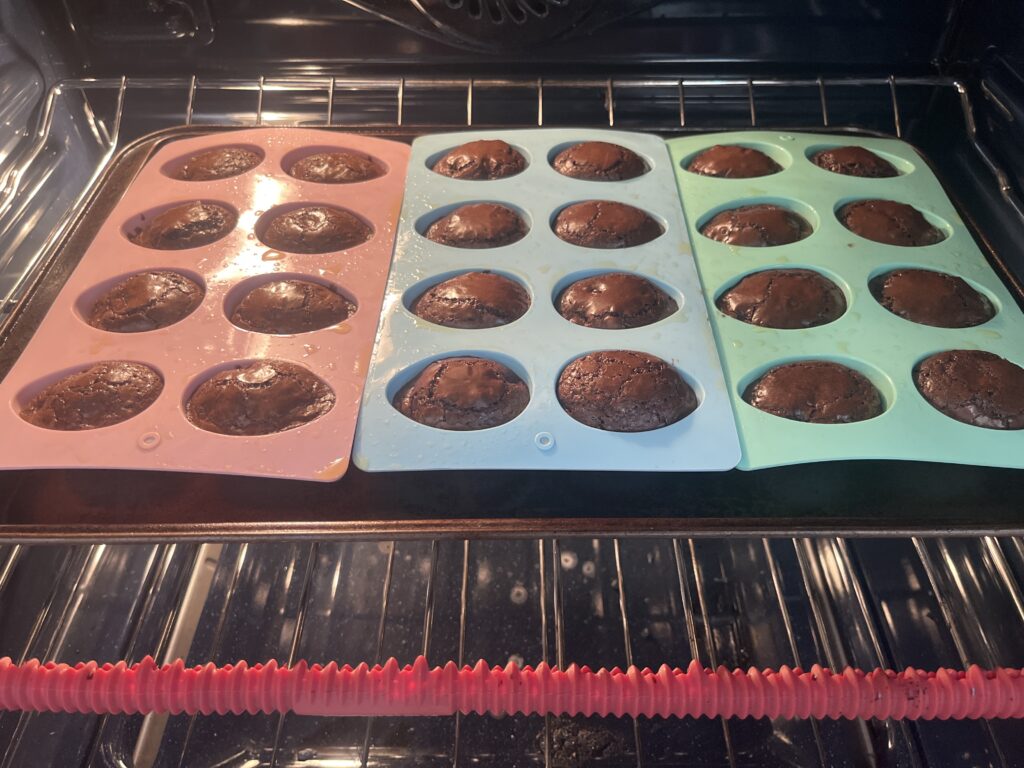
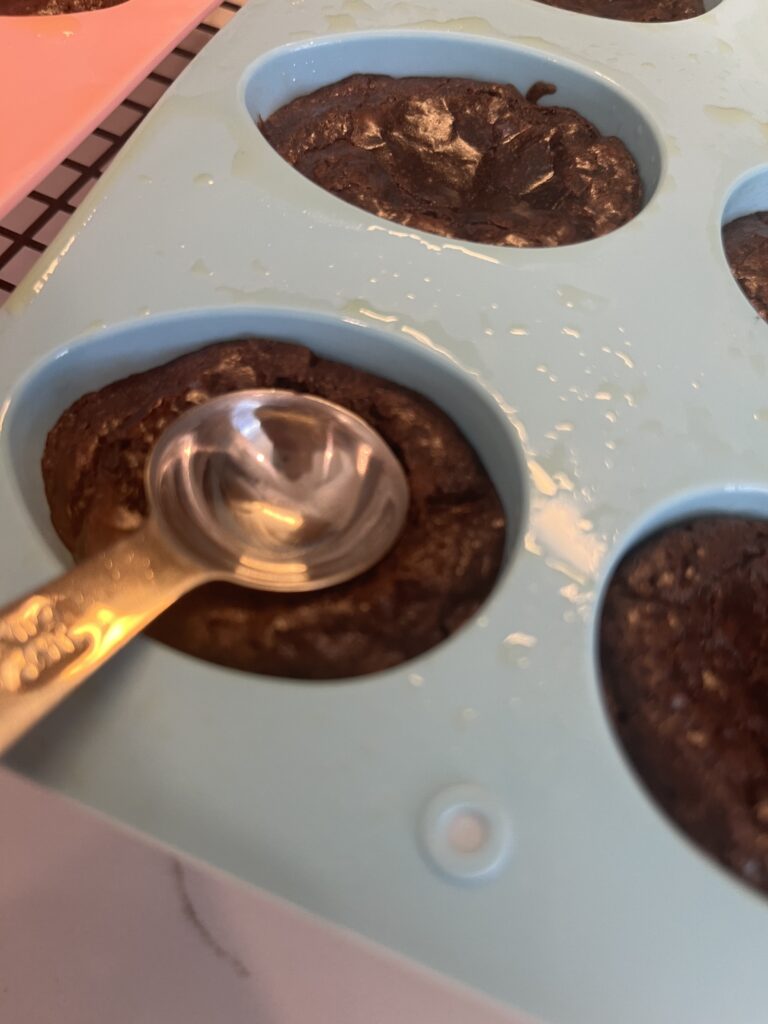
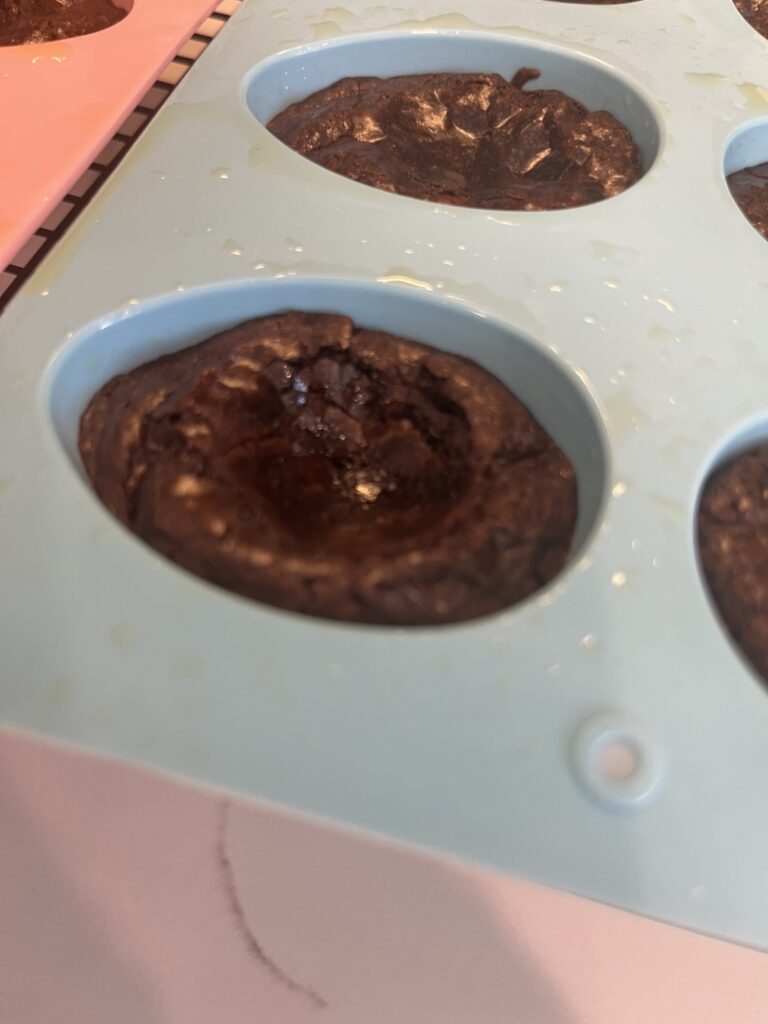
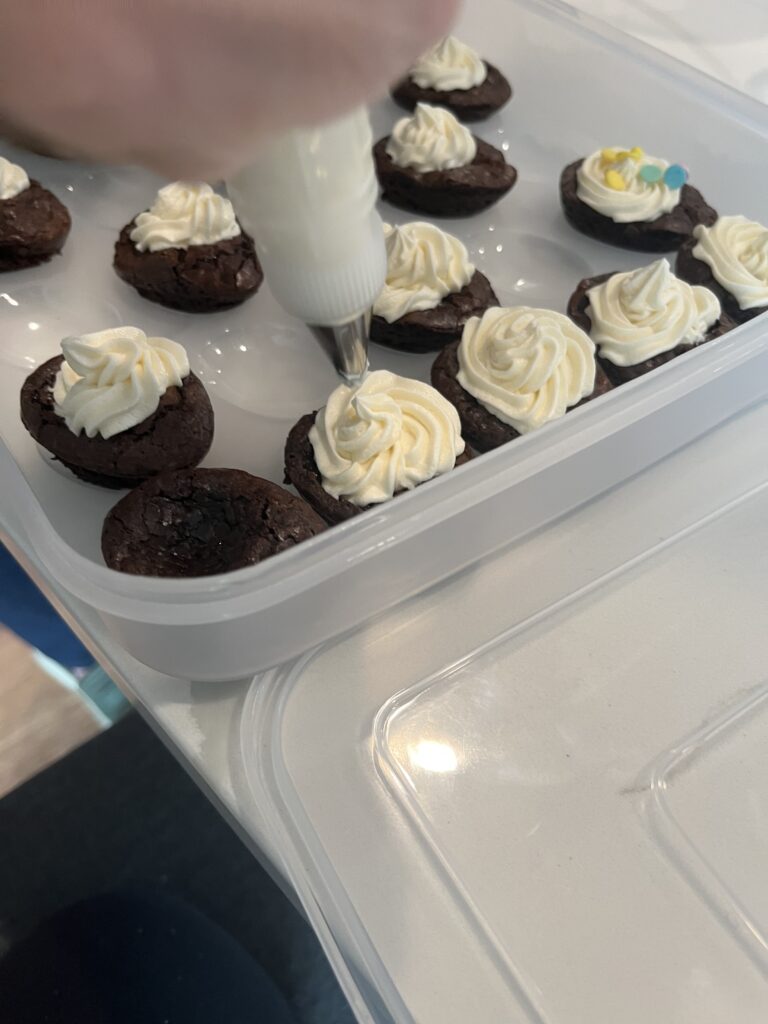
I made these using a boxed brownie mix and silicone egg molds, and while they turned out delicious on the first try, I also learned a few things along the way that will help you get that perfect egg shape.

So I’m sharing:

  • Exactly how to make them
  • What worked
  • What I would tweak next time

Because honestly… they taste amazing either way.

This post may contain affiliate links, which means I may earn a small commission (at no extra cost to you). I only share things I actually use and love.

What You'll Need

I used this Ghirardelli boxed mix, but you can use whatever your favorite box brownie mix is (or from scratch if you prefer!).


I also used a mixing bowl, a mini ice cream scoop, silicone egg molds, a measuring spoon (to make the egg indent), a frosting piping kit, and sprinkles. I’ll link them below and will also link the deviled egg holder I put them in so my husband could get them to work in one piece.


These are the exact tools I used to make this super easy:

Step 1: Prepare the Batter

Prepare your brownie mix according to the package directions.

Step 2: Fill the Molds & Bake

Scoop the batter into your silicone molds (pre-sprayed with cooking oil) using the mini ice cream scoop.
💡 Tip: Fill each cavity about ½ to ⅔ full — not all the way to the top.

Place molds on a baking tray and bake.
💡 Tip: The eggs will bake faster because they are smaller portions of the batter, I started checking them after about 15 minutes and they were ready at around 17 minutes.

Step 3: Cool Partially & Shape Centers

Let the brownie eggs cool for 10 minutes, then press a measuring spoon into the egg to create the center indent. Allow the eggs to finish cooling before removing them from the molds.
💡 Tip: Place the molds in the fridge to allow the brownies to cool more quickly.

Step 4: Pipe in the "Yolk"

Prepare your frosting and transfer it to a piping bag (or a zip-top bag). I made buttercream frosting, but any frosting will work!
💡 Tip: Place the bag in a cup and fold the top edges out around the top of the cup to easily add your frosting to the piping bag.

Pipe the frosting into the center of each brownie. You don’t need to be perfect here, just aim for a small swirl in the middle.

Add sprinkles or toppings on top to finish them off. This is where you can really make them your own.

These turned out so cute and were honestly one of the easiest “fun” desserts I’ve made. My husband’s co-workers loved them so much they asked me to make another tray!

They’re perfect for Easter, spring gatherings, or anytime you want something a little different that feels fun but isn’t too complicated to make.

Be sure to save this post so you have it for your next spring get-together or holiday dessert idea.

Continue  Reading

Leave a Comment

Your email address will not be published. Required fields are marked *

Scroll to Top